Space Engineering: A 5E Science Unit on Heat Transfer
[[{“value”:”
Post by Kristina Klammer & Dr. Natasha Wilkerson
Posted: January 13, 2025
Did you know that when space crafts re-enter Earth’s atmosphere, that they travel at speeds of up to 17,500 miles per hour and heat up to 5,000 degrees Fahrenheit? How does NASA keep its astronauts safe in spaceships when re-entering Earth’s atmosphere?
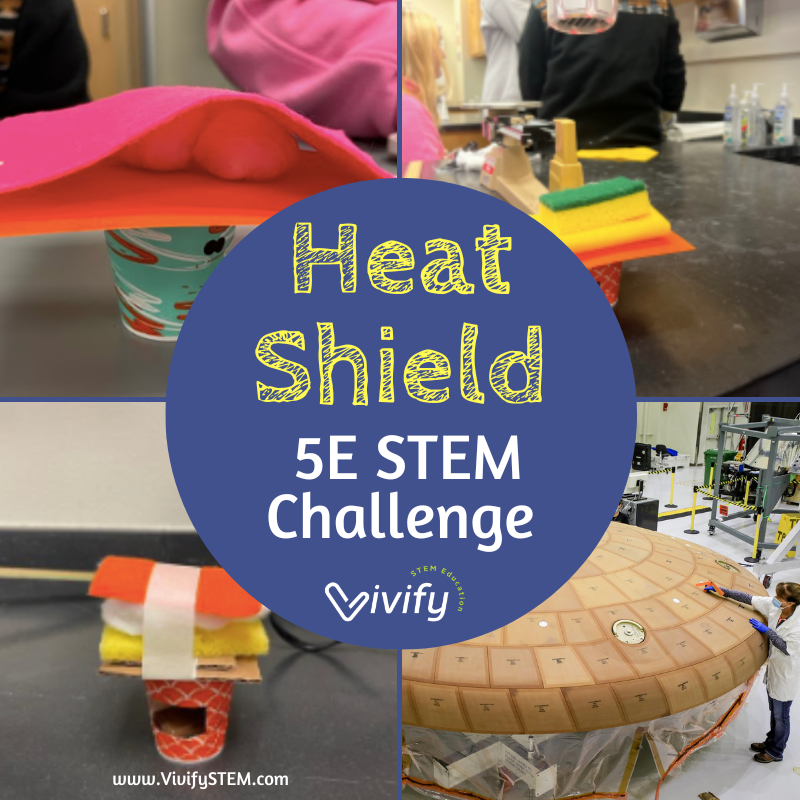
Get your students engaged about the science of heat transfer with a 5E STEM challenge that culminates with students creating a heat shield to protect a space craft and (chocolate) crew! This engineering challenge covers concepts about convection, conduction, and radiation with hands-on activities, including investigating different methods to melt an ice cube.

Overview of Heat Shield Challenge
To learn more about the motivation behind this challenge, we talked with Michelle Bogden, Vivify STEM Education Specialist:
“Teaching heat transfer has always been a challenge for me. While students can easily memorize the definitions of convection, conduction, and radiation, they often struggle to grasp their real-world applications.
This 5E unit is an excellent resource for not only teaching these scientific concepts but also addressing misconceptions, providing practical experiences, and integrating engineering design. The connection between heat transfer and the heat shields used in the Orion space capsule is particularly intriguing. By helping students understand that the same principles that heat their cup of hot chocolate, cook their toast, and fuel their campfire are also critical for a spacecraft re-entering Earth’s atmosphere, you can create a powerful learning experience. Embrace this approach to spark enthusiasm in your students—this excitement will drive the unit and enhance their understanding.”
You can also hear Natasha’s discussion of developing this lesson with her pre-service educators on episode 136 of The STEM Space podcast: Cool Lessons on Heat Transfer.
In this unit, students will:
-
Compare, contrast, and reflect on the different methods used to melt an ice cube.
-
Understand that there are three ways that heat can be transferred: conduction, convection, and radiation.
-
Be able to identify which type of heat transfer is happening in a given situation.
-
Learn about the systems that keep astronauts safe during re-entry and recovery.
-
Design a heat shield to protect their spacecraft and crew.
-
Apply scientific principles to design, construct, and test a device that either minimizes or maximizes thermal energy transfer.
This unit is aligned with the following NGSS Standards for Elementary School and Middle School:
Heat Shield 5E Challenge Details
This challenge is designed for upper elementary or middle school students and takes about four 90-minute sessions to complete. It is broken up into five parts that align with the 5E learning cycle.
-
Engage: Gravity Re-entry Video Clip
-
Explore: Melt an Ice Cube
-
Explain: Connect Ice Cube to Heat Transfer
-
Elaborate: Deepen Understanding with Heat Shield Engineering Challenge
-
Evaluate: Assess Student Learning with Discussion, Reflections + Exit Ticket
Part 1 (Engage): Gravity Re-entry Video Clip
Get kids engaged and excited about the topic by starting the challenge with a dramatic video clip related to heat shields and re-entry from the film, Gravity.
Part 2 (Explore): Melt an Ice Cube
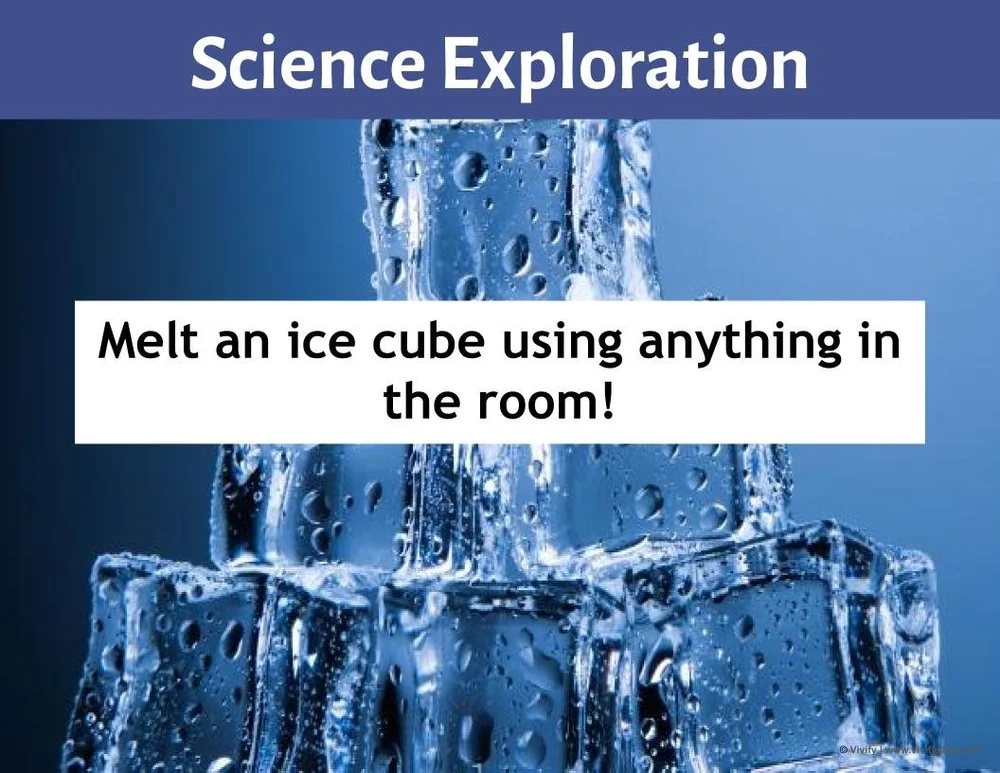
In a decontextualized activity (so no vocabulary yet!), give each student an ice cube and task them with melting it in as many different ways as possible!

After students melt their ice cubes, ask them to share how they did it. Then, ask them to come up with more ideas if they had unlimited access to resources. Write down their answer in 3 columns representing: convection, conduction, and radiation. However, don’t share these titles yet! Once you complete the table, ask them to guess what each group has in common.
Examples from students:
-
Convection: place in a cup of water, blow dryer, blowing on it, space heater
-
Conduction: body heat, friction from hands, rub on a cat, stove
-
Radiation: sunlight, microwave, blow dryer
Part 3 (Explain): Connect Ice Cube to Science Concepts
After discussing the ice cube challenge, introduce the three types of heat transfer: convection, conduction, and radiation. Here is a fun way to demonstrate each that involves the entire class followed by real-world examples of each.
Conduction: Instruct students to stay seated and not move. Give one student a ping pong ball. The goal is to get the ping pong ball from one student to the teacher on the other side of the room. Students will transfer the ping pong ball from person to person, but nobody can move. The only object in the room that can move is the ping pong ball.
Convection: Have students line up next to a bucket filled with balls. Across the room, there is an empty bucket. Each student grabs a ball and moves around the room to drop their ball in the bucket. Keep going until all the balls are in the bucket.
Radiation: Give one student a ball. Ask them to throw it to you!
You can also use the videos in the teacher slides as a great way to understand these science concepts. Here is a good one:
Finally, ask students to apply these concepts to new scenarios. For example: Imagine you are cooking a marshmallow on a campfire. Describe how the three types of heat transfer – conduction, convection, and radiation – are involved in the cooking process. Or another favorite of students is: How does a Yeti cup keep liquid hot or cold?
Part 4 (Elaborate): Heat Shield Engineering Challenge
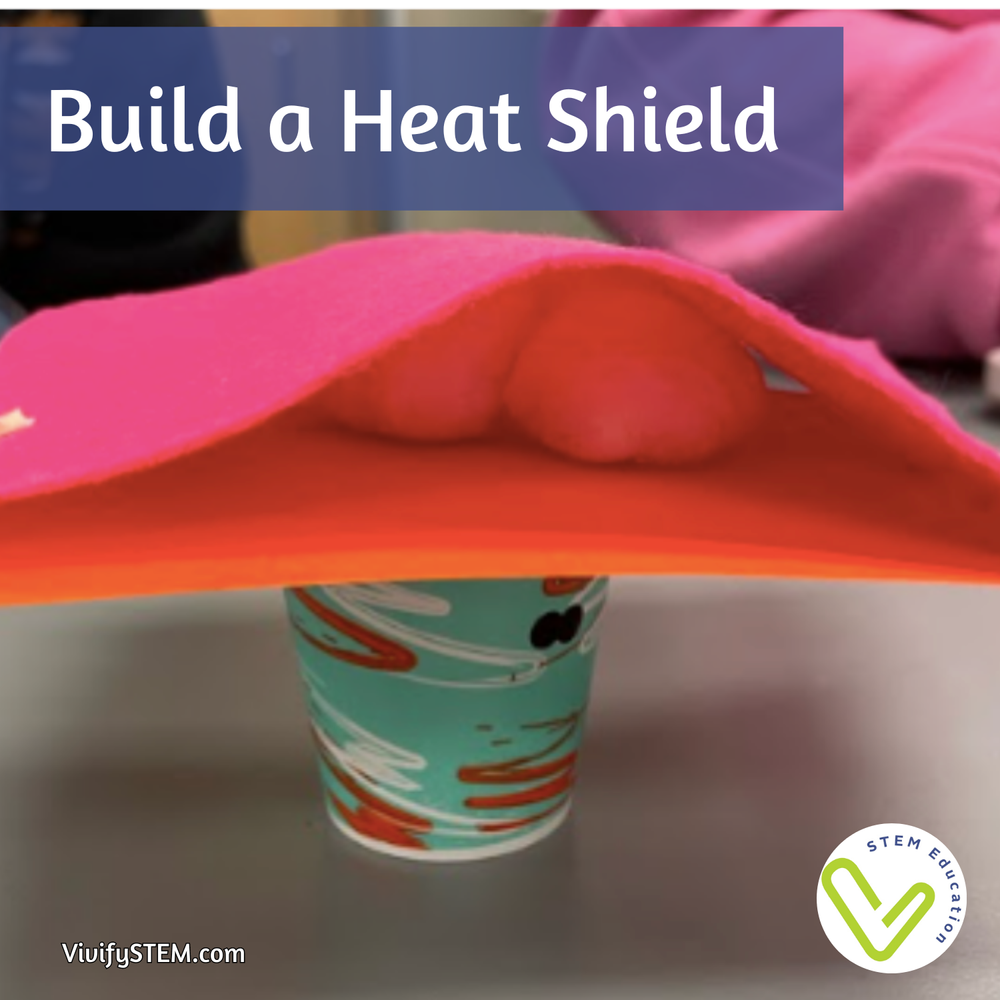
Next, students apply their learned knowledge of heat transfer by designing and building a heat shield that will keep astronauts safe during re-entry. Students must work in teams to prevent the astronauts (made of chocolate) from melting in the spacecraft (plastic cup).
Design Constraints:
-
Heat shield weighs no more than 10 grams
-
Heat shield is no larger than a ¼ sheet of paper
Materials:
-
Hair dryer
-
¼ of regular chocolate bar per test
-
5 oz paper cup
-
Tongs
-
Scale
-
Stopwatch
-
Oven mitts/gloves
-
2 thermometers (infrared recommended)
-
Masking tape
-
Scissors
-
Foil
-
Cardstock
-
Index cards
-
Construction paper
-
Newspaper
-
Cotton balls
-
Cardboard
-
Bubble Wrap
-
Foam
We also love this video from NASA as a great introduction to the design challenge:
First, students brainstorm and test out different materials to select the materials with the least mass and the best insulators. The more materials you allow the students to choose from, the more creativity they can use when designing their heat shield. If you need to increase challenge, try limiting the amount of items used, or create a price limit and label each material with price.
Encourage students to test and redesign their heat shields several times to improve their designs. Students use a data table to record the results of their tests in the provided student handouts. There is also the option for students to give each other peer feedback on their designs.

Part 5 (Evaluate): Exit Ticket
After students share their results with others and discuss their successes and challenges from the heat shield challenge, they will have the opportunity to reflect individually on their learning process with a student handout. I always emphasize to students that it is so important to take time to reflect, because reflection is so essential for learning and improving for the future.
Finally, students complete an exit ticket evaluation to demonstrate what they have learned. They answer questions about the three different types of heat transfer and provide examples of each. Students also rate their own level of understanding of heat transfer and are given the opportunity to write down any additional questions that they still have after completing the challenge.

Additional Resources
We love these videos about heat transfer, career connections, and real-world applications:
Want to implement this activity in your classroom or program? Check out our full teacher and student STEM guide. This includes editable teacher slides and student handouts for each step of the project, and an editable rubric for assessment.

Heat Shield 5E Challenge in the Vivify Store
“}]]
